Proper vaporization can be obtained if you follow the steps below. Read on or scroll to the bottom to watch a quick video and you will soon be getting the perfect vapor draw from your
Vapor Brothers box vaporizer.
Step 1: Grind Blend Properly
This is one of the most important and often overlooked steps for proper vaporization. Our Grinders grind your blend to a perfect consistency every time and they are even available as a grinder with storage area.
If you do not have an grinder you can use a coffee grinder, but make
sure you only give it a couple quick spins, you don't want to grind it
so much that it becomes a powder and will fall through the screen. If
you don't have either of those scissors will work or even your fingers,
just make sure the blends are ground to a nice consistency with no
clumps. We recommend a coarse grind for whip-style vaporizers (for the
portable Magic Flight Launch Box vaporizer, the finer the grind the better).
Step 2: Turn on the Vaporizer
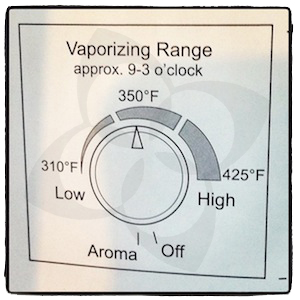
Turn on your Vapor Brothers vaporizer by turning the knob to the 12 o'clock or halfway position. The Vaporbrothers just gets turned on by rotating the knob. Allow at least 5 minutes for your Vaporbrothers heat element to warm up completely. While you are waiting complete the following steps:

Step 3: Load Your Whip/Handpiece
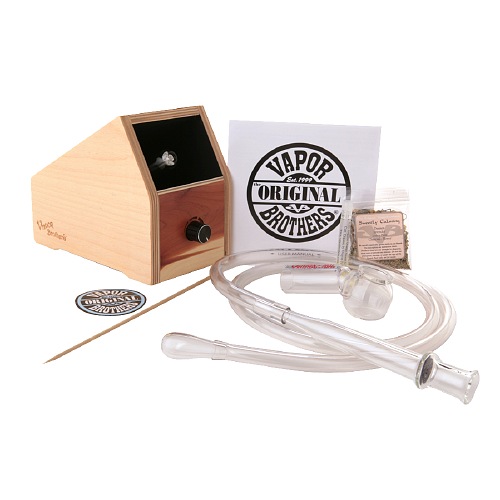
The handpiece (called whip in the case of the VaporBrothers) is the
glass piece with the plastic tubing and mouthpiece. The mouthpiece is
the smaller of the two ends and is held to your mouth. The handpiece will have a screen about an
inch or two from the end. Take some of the blend you have ground up and
place them on this screen. I suggest only using a small amount as it
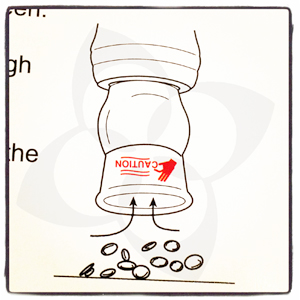
will provide more even vaporization. 1/8" is plenty at one time. The cleanest way to load the whip is to vacuum up the blend by holding the Vapor brothers handpiece over the herb and inhaling through the mouthpiece. Once the blend is loaded, lightly tamp down the blend with a
pick tool. You are now ready to vaporize.

Step 4. Vaporize!
This
is really more than one step and I will go through them here. The first
step is to wait for your vaporizer to get hot, in the case of units
with a metal heating element the element will glow red, and this may be the case for some of the updated ceramic elements. Whichever unit
you have it should be hot enough to use within 5 minutes, 10 minutes
tops.
- For Standard Vaporbrothers Vaporizers: the hand piece is then held up to the end of the heating element,
and you place the mouthpiece at the end of the plastic tube in your

mouth. It is not necessary to hold the handpiece parallel with the
heating element, you can hold it level with the ground and thus avoid
any back spill of blend onto the heating element. The only important
factor is that you can draw air over the element heating it which then
in turn heats your blend as it passes over them. This is the next step;
draw hot air over the blend, thus creating the vapor, and down the tube
into your lungs. Rotate the handpiece around the tip of the element while inhaling. This will redirect the airflow inside the whip for an even browning of the blend.
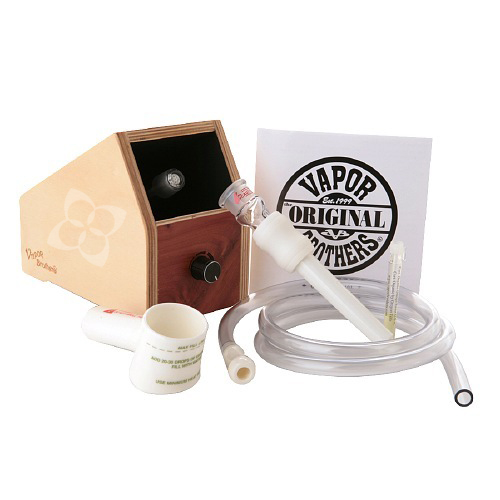
- For Hands Free Vaporbrothers Vaporizers: slide the ground glass tip of the Hands Free Whip over the ground glass tip of the hands free element to create an air tight connection. With this method it is not necessary to hold the whip to the element. We recommend removing the whip when you have finished your vapor session to avoid any mishaps.

After you have taken your vapor draw you may pull the
handpiece away from the unit and thus avoid keeping any heat on the
blend when you are not drawing vapor. The overall process is simple
however getting the right draw is a science and each person has their
own preferred method. Next I will discuss mine.
Getting the Right Vapor Draw
As I stated everyone has their own preferred method. The VaporBrothers instruction manual instructs you to turn the unit down slightly after it has
heated up and then to take your draw. This way works well, however it's
not my favorite. My favorite way to use the vaporizer is to leave in the noon to two o' clock position, and then to take a very fast and long draw. As I
continue my draw the element may cool down and then I will slow my draw.
This varying of the draw speed is the key to vaporizing and what you
will have to experiment with on your own.
Here are the basic rules:
- Hot element (noon to 3 o' clock): draw fast to avoid burning the blends, as the element cools you can slow your draw.
- Warmer element (ten o' clock to noon): draw slow to create the vapor, however if you draw too slow on a hot element you will burn the blends and create cloud
- Experiment with different temperatures and draw speeds and within a few trials you will find the one that fits you best.
How do I know when the blends are spent?
This
is one of the most frequent questions that goes along with vaporizing.
It's hard to really say as it varies with the blend you are using but
here are a few guidelines:
Color: If blend change color from green to brown they are probably spent (if they go to black you have gone too far)
Flavor:
Many blend will develop a distinct flavor after their essential
contents have been extracted. For many blend this may resemble the
flavor of burnt popcorn. It's not really pleasant so you want to learn
how to realize your blend are spent before getting this far.
Smell: Spent blends may smell like burnt popcorn.
Vapor:
This is actually one of the methods I find most usefull. When the blend
are becomming spent, vaporizing them at the normal temperature fails to
produce any more vapor. Don't force vapor by drawing slow on a hot
element, all you are doing then is burning the material and inhaling all
the stuff we were attempting to avoid inhaling by vaporizing.
I
think you will find that once you give your VaporBrothers vaporizer a few tries you will get the hang of it
very quickly. They work great and provide a great vapor draw every time
for the experienced operator. Feel free to contact us with questions
regarding using your vaporizer, we are happy to help everyone get the
best out of their vaporizer.
05/14/2013 Edited to add photos and update some of the content.
05/16/2013 Edited to add video and update some of the content.